
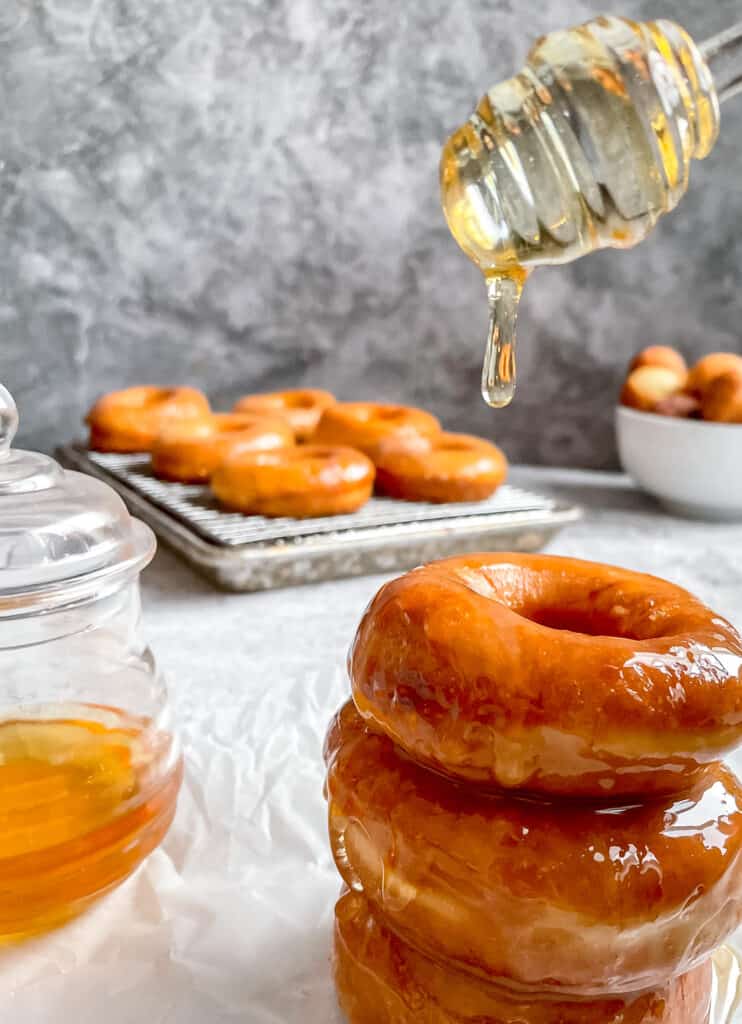
You don't need to go through a drive-thru to enjoy this classic dessert, you can make it at home and have it taste WAY BETTER than any store-bought honey-glazed donut.
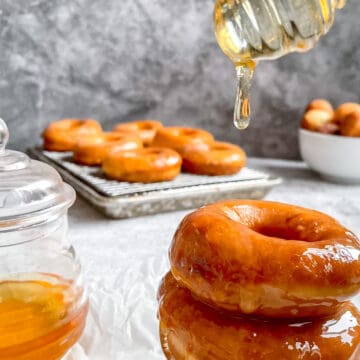
If you grew up in Canada, you know the honey dip: a light yeast donut with a thin, crackly honey glaze that shatters when you bite it. This is my homemade version of the Tim Hortons classic, made with pantry ingredients and a pot of oil on the stove.
You guys... these are so good. I am glad that they take nearly three hours to make AND freeze well.. otherwise I would have to install a treadmill at my mixer. The doughnut itself isn't super sweet - which works so well with this glaze.

 I am in love with these Honey Dip Doughnuts, and I know you will be too!

If you don't have a deep fryer at home you can always use a Dutch Oven or other large pot.
Ingredients
Dough
- Yeast
- Milk
- Sugar
- Salt
- Vanilla Extract
- Eggs
- Flour
- Butter or Margarine
- Flour
- Oil for Frying
Glaze
- 4 Cups Icing Sugar
- ½ Cup 2% Milk
- 1 tbsp Vanilla Extract
- 2 tbsp Honey

Tips & Tricks for making Honey Dip Doughnuts
These will help you with any yeasted dough, read through to ensure you are putting your best foot forward making these Honey Glazed Doughnuts.
- Always make sure your water is between 40-50 degrees Celsius. Any hotter and it will kill your yeast. Any colder and it will take forever to wake your yeast up!
- Add the Glaze while the donuts are still on the cooling rack with a baking sheet underneath it. This will help catch any extra glaze while minimizing the mess.
- Add the flour in one cup at a time and fully mix it in before adding the next to ensure silky smooth dough.
- Oil the bowl and ball of dough to help aid in the rising of the dough. Imagine squeezing into your favourite pair of jeans with the help of some canola oil, that's how your dough wants to feel climbing that bowl.
- If you're unsure how long to knead your dough you can always do the window pane test. Simply pull a piece of the dough with your two fingers. If the dough stretches itself to the point that you can see through it (like a window) then it has been worked enough to reach the point of elasticity to create this effect. When dough is worked to this point it will yield a lighter fluffier product. this is because the gluten provides structure and that is where the air (gases) get trapped helping the dough rise. When the gluten is heated is solidifies and maintains this rise and provides texture.
- Always Always Always leave your precious dough in a warm and draft free spot.


If you're just getting the hang of yeast doughs and want to try more, try my Fluffy Sesame Hamburger Buns next!


Are These Like Tim Hortons Honey Dip Donuts?
Yes, that's exactly what I was chasing. The Tim Hortons honey dip is a yeast-raised ring donut, not a cake donut, so it's airy and light rather than dense, and the glaze is thin enough to set into a crisp shell. The two things that matter most for getting that texture at home are a proper second rise (the shaped rings should look puffy and jiggle when you nudge the tray) and oil that stays between 350°F and 365°F. Too cool and the donuts soak up oil; too hot and the outside browns before the inside is cooked.
Glaze them while they're still warm so the honey glaze sets into that signature thin coat. If you're making these for a crowd, the same dough makes great cinnamon buns, and the technique is close to my 40-minute buns if you want to practise with yeast first.
📖Recipe
Honey Glazed Doughnuts
Equipment
- Deep Fryer
- Dutch Oven
- Stand Mixer
- Thermometer
Ingredients
Dough
- 2 tablespoon yeast
- ¼ cup warm 40°C Water
- 1 ½ cups 40° 2% Milk
- ½ cup sugar granulated
- 1 teaspoon salt
- 1 tablespoon Vanilla Extract
- 2 Large Eggs Room Temperature
- ⅓ Cup Butter/Margarine Melted
- 5-6 Cups All Purpose Flour
- 2 Quarts Canola Oil For Frying
Glaze
- 4 Cups Icing Sugar
- ½ Cup 2% Milk
- 1 tablespoon Vanilla Extract
- 2 tablespoon Honey
Instructions
Make Dough
- In the bowl of your mixer, add yeast with water and sugar and let it bloom. Once Bloomed (foamy and ready to get to work) add in the milk, melted butter, and the eggs. Add vanilla, salt and the finally the flour one cup at a time. The dough should be quite soft, but not sticky.
Rise The Dough
- Oil the Dough and the boil it is in and then Cover the dough and let rise until double in a warm place. You will know that the dough has risen enough when its doubled in size or when an indentation remains when you poke it.
Shape the Donuts and Rise Again
- Once Risen, punch down the down and work out the air bubbles. Roll the dough out onto a floured work surface until it is ½" thick. Cut the donuts using a donut cutter dipped in flour or you can be creative and find something in your kitchen! (I used my largest wine glass for the outer circle and a cap for the center). Cover and let the donuts and holes rise for another hour! (Its worth it)
Frying
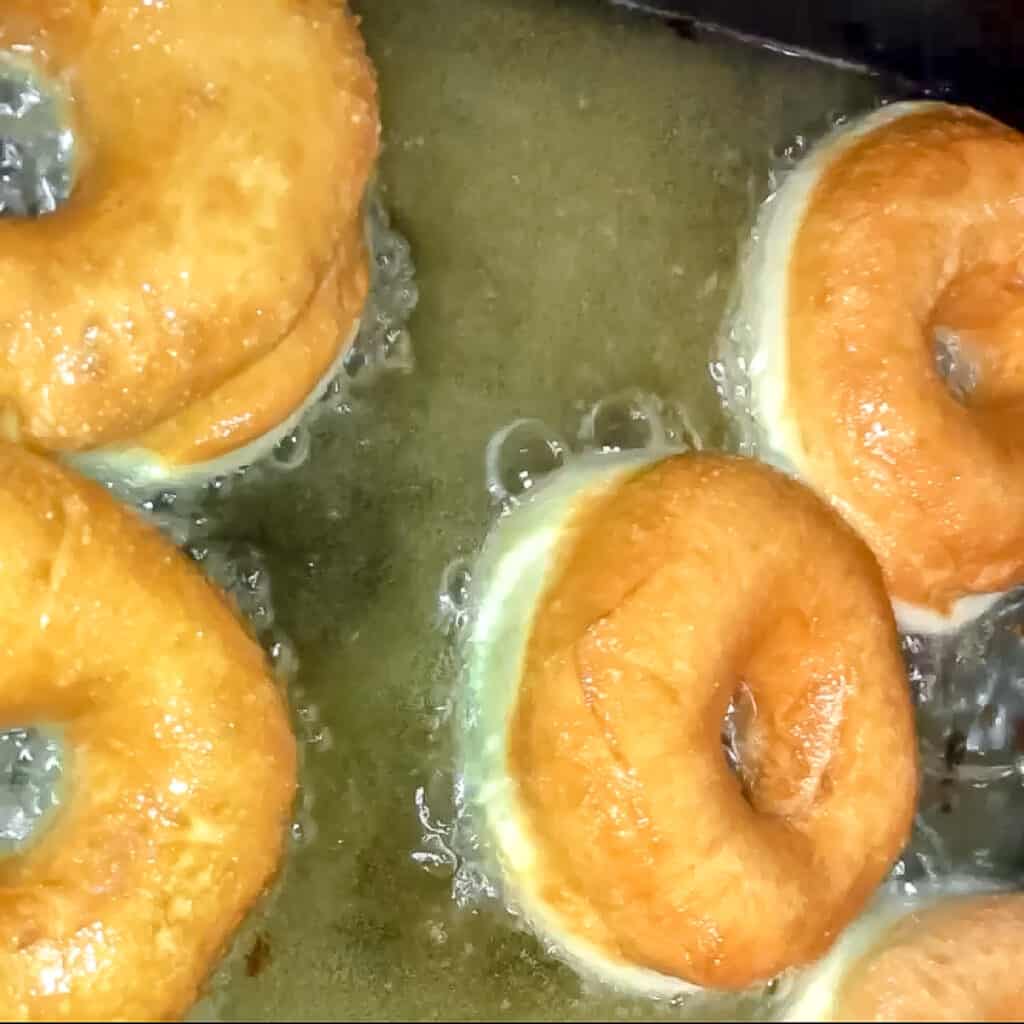
- In 360° Canola Oil, fry for one minute on each side. Remove to a cooling rack with paper towel underneath to catch excess grease.
Glaze
- Combine Ingredients in a saucepan and bring to a simmer, whisking constantly. You want to 'cook out' that stale taste of powdered sugar (I decided that this was a thing while making this.) Remove from heat after a few minutes of simmering and dip the cooled donuts in the glaze one at a time. Set them back on the wired rack to set up.